Key Information
- File Technical Requirements
- Graphic Design
- Fonts and Text
- Quality Control Before Submission
- What to Avoid and What to Remember
- Summary
- Optional Add-ons
- FAQ – Frequently Asked Questions
Technical File Requirements
Preparing a graphic file for printed balloons requires accounting for the specifics of latex balloons — a flexible, curved material that changes shape when inflated. Precise file preparation minimizes errors and speeds up production.File Format
Preferred formats are vector-based: AI (Adobe Illustrator), EPS/CDR (CorelDRAW), or PDF. Vectors, based on mathematical paths, ensure sharpness regardless of balloon size — from small 10-inch to large 18-inch balloons. Industry data shows vector files reduce errors by 70% compared to raster files. Use raster formats like PNG or JPG only for gradients or photos. The main differences between PNG and JPG lie in compression, transparency support, and use case. JPG uses lossy compression, reducing quality but file size — ideal for digital photos (e.g., web images). PNG uses lossless compression, preserving quality and supporting transparency — perfect for logos and tonal graphics. The most recommended raster format for print is TIFF. It is widely used in publishing and printing due to layer support, transparency, and lossless compression, preserving full image quality.Resolution
For raster files, a minimum of 300 DPI at 1:1 scale is essential. Lower resolution, e.g., 72 DPI, causes pixelation, especially on larger balloons (e.g., 30 cm). 300 DPI ensures sharp printing even on curved latex surfaces. How does this translate to pixels? The minimum file resolution for balloon printing should be 1650 px. Below is a visualization of a sample print on the Laserprint machine with a correct file (submitted in proper resolution with text converted to vector curves) versus an incorrect file sent in low resolution with raster text.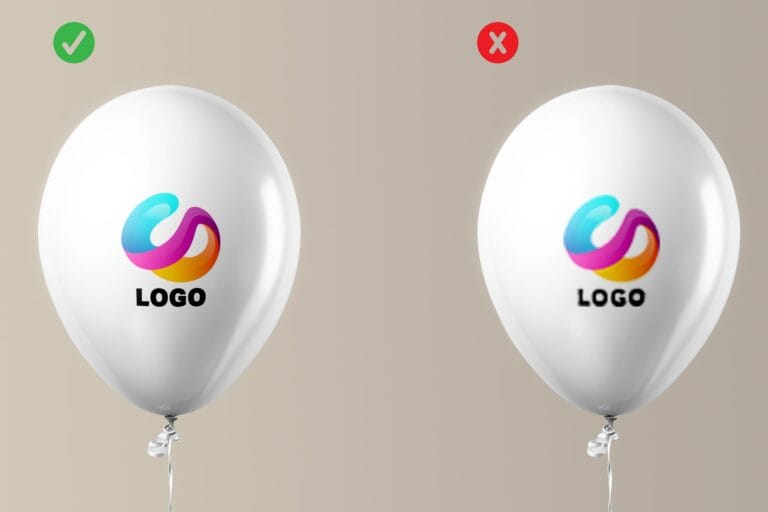
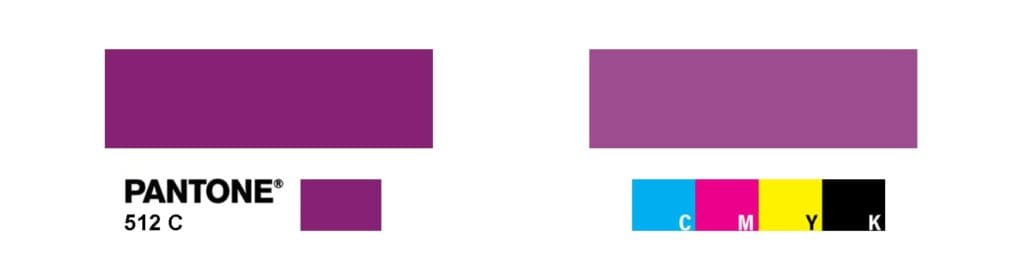
Colors
CMYK is a color mode that reproduces colors in print, as opposed to RGB, which is designed for screens. If your company has a brand book, it will certainly include colors from the Pantone system, e.g., Pantone 286 C for a blue logo. At our company, we use the PANTONE Solid Coated C, HKS N, and CMYK color palettes.Transparency and background
A file with a transparent background (e.g., PNG or vector without fill) integrates perfectly with the color of the balloon, eliminating frames. Below is a comparative visualization with a printed logo without a background and with a background.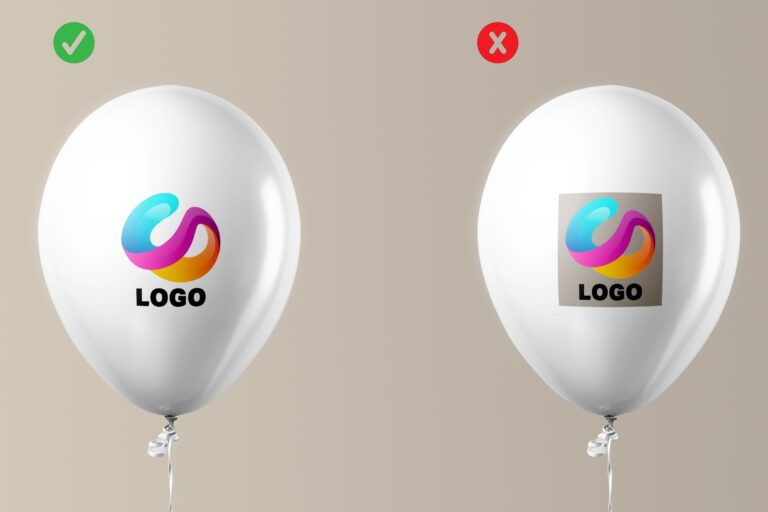
Graphic design
Designing graphics for balloons requires an understanding of how latex reacts to stretching. Once the balloon is inflated, the graphic may become slightly distorted, so we recommend that you follow the guidelines. Read more about the types of machines we use in our company. Click and go to the article.Maximum print area
The standard print area on an 11-inch balloon is a circle with a diameter of 11.5 cm in a flat design. Below is a graphic that can definitely help you design a logo for a balloon. Regardless of the type of machine, the print in the design should fit within the circle. Depending on the type of machine and the size of the balloons, the circle should have a diameter consistent with the graphic below.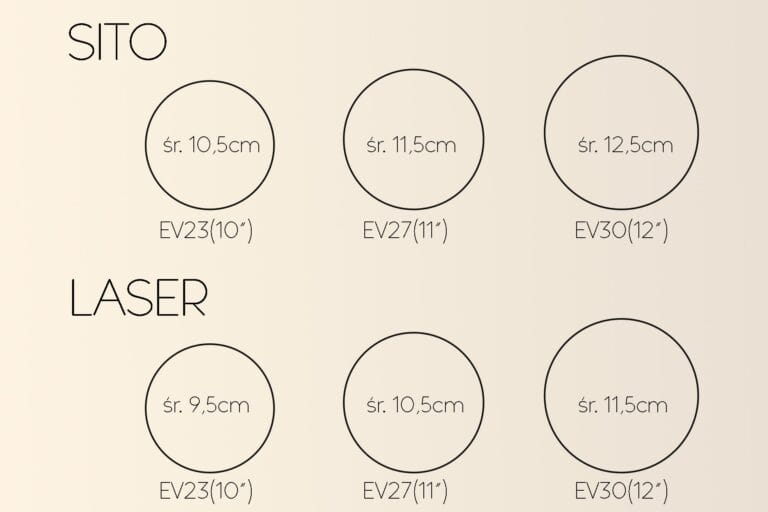
Logo size and placement
The logo on the balloon should be located in the center of the balloons, where it is most visible. Marketing tests show that a central logo increases brand recognition by at least 30% in a crowd.Legibility of small elements and text
Small elements, such as icons or lines, should have a minimum thickness of 0.5 mm in vector graphics. Text smaller than 9 pt may become blurred when the latex is stretched.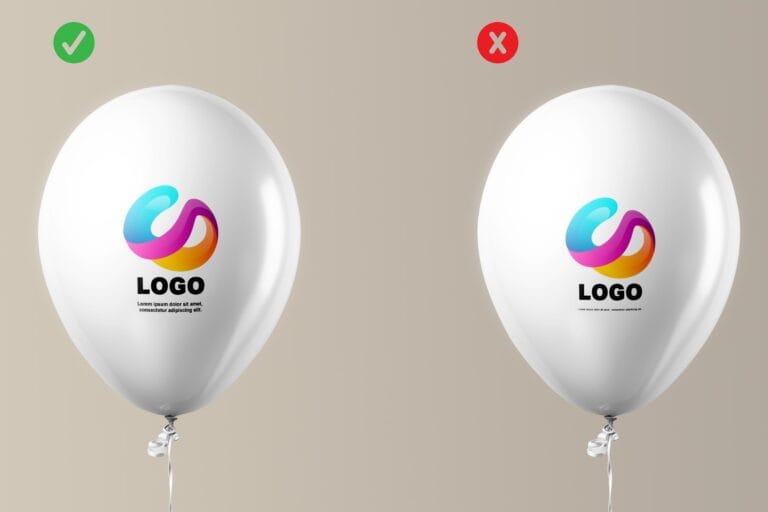
Cost Minimization
To reduce printing costs, simplify gradients in your logo, shadows, or fine patterns. Instead of a complex gradient background, opt for a single solid color. The more colors in your logo, the higher the setup cost.Fonts and Text
Text in logos on promotional balloons requires special attention, as the latex surface can distort small details. Experts from Adobe and Everts-Pol recommend converting text to outlines (curves) to eliminate missing font issues at the printer. Choose sans-serif fonts like Helvetica, Arial, or Roboto, which remain legible on curved surfaces. Avoid thin fonts (e.g., light weights below 100 pt) — the minimum size is 12 pt for slogans and 10 pt for smaller text. Balloon tests show that bold fonts retain readability even with 25% latex deformation. Check kerning — text that’s too tight blends together, while overly loose text loses cohesion. Tools like FontLab help optimize spacing, and Everts-Pol offers free consultations to avoid typographic errors.Quality Control Before Submission
Thorough verification is essential before sending the file to the printer. Experts recommend two phases: visual (mockup) and technical (parameter check). Overlay the design onto a balloon mockup in Photoshop or Illustrator to simulate inflation. Check colors in CMYK and proportions after stretching. Ensure elements are vector-based or at least 300 DPI. Name the file clearly, e.g., “Logo_CompanyXYZ_12inch_CMYK_2025.eps”, including balloon size and date. ISO 12647 standards indicate that such checks reduce complaints by 95%. Send the file via email or WeTransfer with a note detailing specifications.What to avoid and what to remember
Our experience and commitment allow us to learn and understand the ever-changing needs of our customers every day. An individual approach to each print allows us to develop our skills. In order to provide professional assistance, we have prepared a few comments regarding printing on balloons.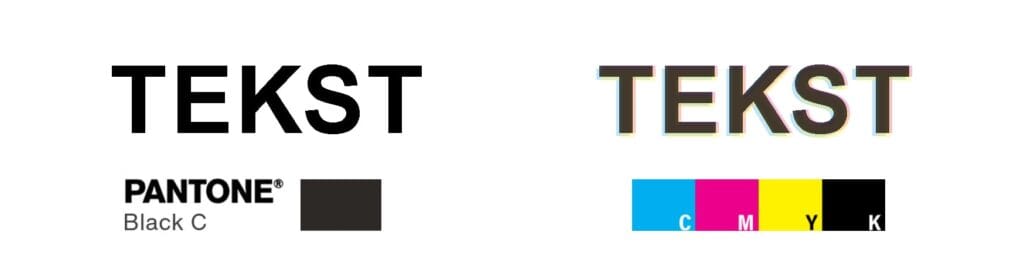
- Text prints on balloons should be made using full Pantone colors. This will prevent blurring and illegibility of the text. Please remember to convert all text into vector curves.
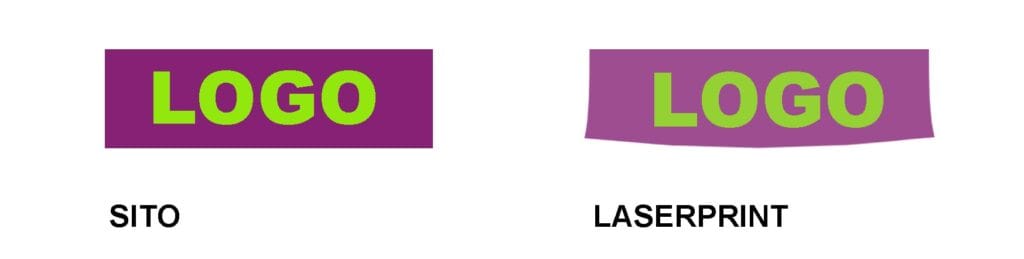
- In prints where we use the CMYK printing method, colors are less saturated than in screen prints. For accurate color reproduction in printing, additional ink from the Pantone color chart should be used
- For square or rectangular prints, the SCREEN PRINTING method works best. This avoids distortion and the so-called “smile lines.”

- CMYK prints are made using HALF-TONES. Halftones are tiny elements of a pixel grid, i.e., tiny dots that contain color information.
Summary
Preparing a file for printing on latex balloons doesn’t have to be complicated. Here’s a quick checklist:- Choose a vector format (AI/EPS/PDF) or raster at 300 DPI.
- Use CMYK/Pantone from the Solid Coated C palette with a transparent background.
- Design to scale with margins and legible text.
- Convert fonts to outlines; avoid fine details.
- Send with specification notes to Everts-Pol.
Want to learn more? Read our article Which Balloon Print to Choose?
FAQ – Frequently Asked Questions
What file format is best for printing on latex balloons?
Vector formats (AI, EPS, PDF) are best, ensuring sharpness regardless of size. Use raster files (PNG, JPG) only for photos, with a minimum of 300 DPI.
Why avoid RGB colors in logo balloon designs?
RGB is for screens and causes color shifts in print. Use CMYK for accurate color reproduction or Pantone for brand color precision.
What resolution is required for balloon graphics?
Minimum 300 DPI at 1:1 scale. For large balloons (30 cm+), detailed graphics may require 600 DPI.
Does text in the logo need to be converted to outlines?
Yes, converting to outlines prevents font issues and ensures consistency. Avoid text below 10 pt to maintain readability.
How to verify the design before printing on balloons?
Check colors and proportions, or send it to us for free verification.